VirtualBox Starting DVDK Virtual Machine
Revision as of 08:53, 23 November 2012 by DevWikiAdmin (talk | contribs)
| HOME | SOMs | SBCs | ToloMEO Embedded Assistant | ||
| Roadmap | IoT Services | ML/AI services | Embedded Design Services |
Info Box
|

This page describes the basic procedure to start the DVDK virtual machine in VirtualBox.
 We assume that the VirtualBox package is already installed in the user's host machine |
Contents
Starting the Virtual MachineEdit
The virtual machine image can be provided either in a .vbox file or a .ova file. The first is a ..., while the second is a .... Please follow the instructions
From a .vbox fileEdit
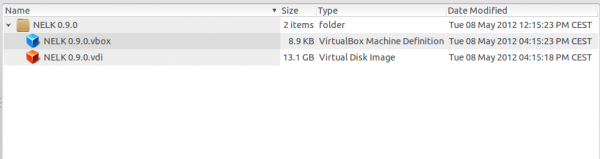
- Decompress the DVDK compressed archive on your file system. You should see two files, with .vbox extension (the virtual machine definition) and .vdi extension (the actual virtual machine):
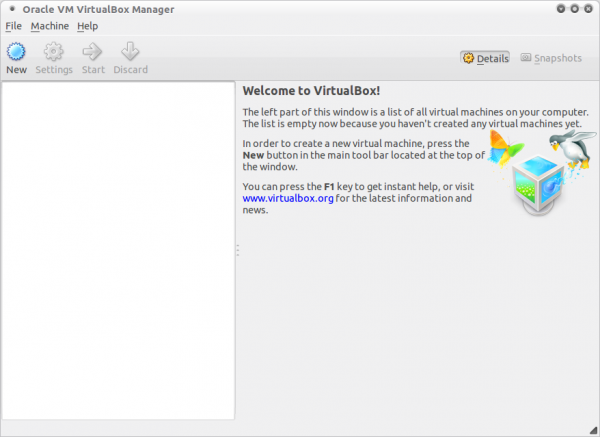
- Start the Oracle VM VirtualBox Manager
- Click on Machine and select Add
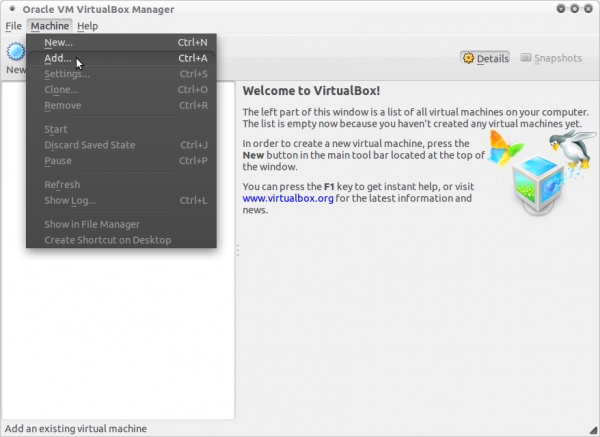
- Navigate your file system and select the .vbox file previously decompressed


From a .ova fileEdit
- Decompress the DVDK compressed archive on your file system. You should see two files, with .vbox extension (the virtual machine definition) and .vdi extension (the actual virtual machine):
- Start the Oracle VM VirtualBox Manager
- Click on Machine and select Add
- Navigate your file system and select the .vbox file previously decompressed
Launching the VMEdit
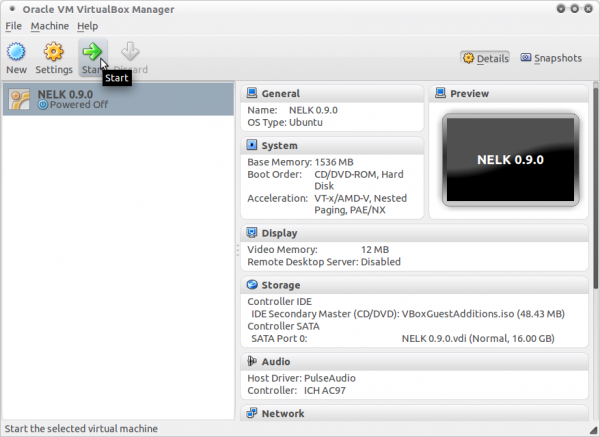
- Now that the virtual machine is ready, launch it by clicking on the start icon:
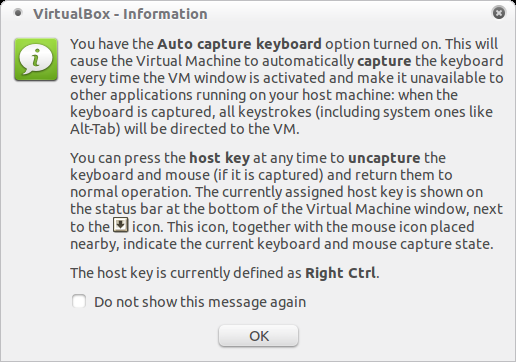
- VirtualBox will open three message windows like the following, you can click "Ok" to close them
- When the boot process is completed, you can login into the Ubuntu system
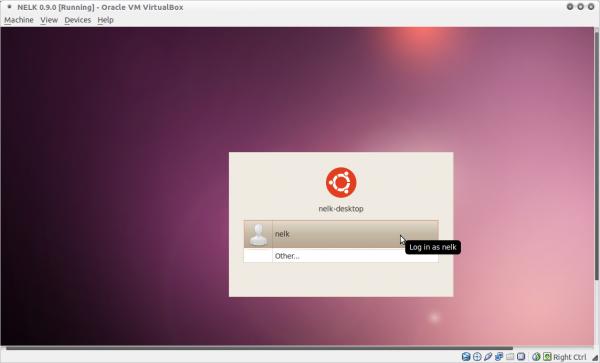
with the credentials provided with the development kit (you can find them into the README file contained in the kit distribution).


Guest Additions UpdateEdit
Once logged in, the system could suggest to update the Virtualbox Guest Additions package. You can follow the on-screen instructions to easily install the updated package.
Next StepsEdit
- Check if your keyboard layout matches the Ubuntu keyboard settings. You can change the keyboard layout selecting System->Preferences->Keyboard from the top panel menù.
- Configure the Virtual Machine network interface: VirtualBox_Network_Configuration
- Start working with the development kit: Naon_Embedded_Linux_Kit_(NELK)